Introduction
Let's create our first config store and learn to use it in less than 5 minutes.
Getting Started#
Get started by going to myconfig.store
1. Create a new account#
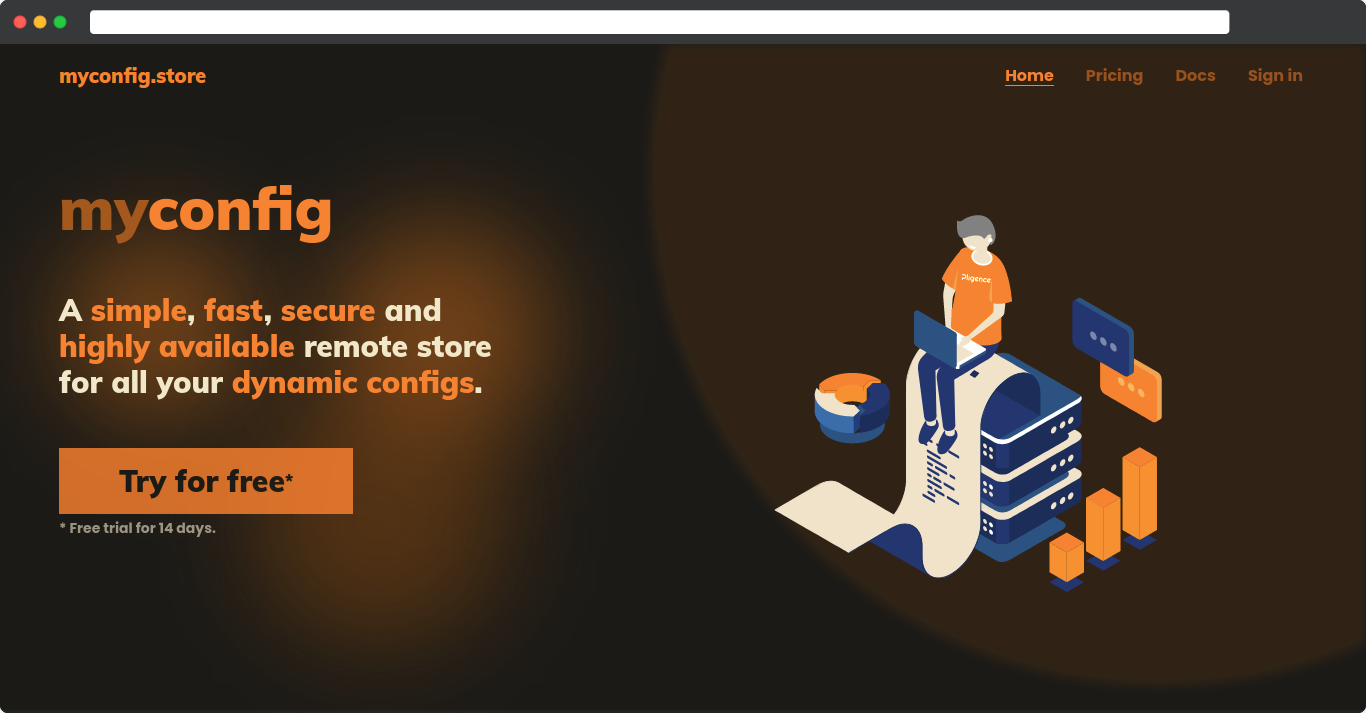
Click on the Try for free button to start your free trial for 14 days.
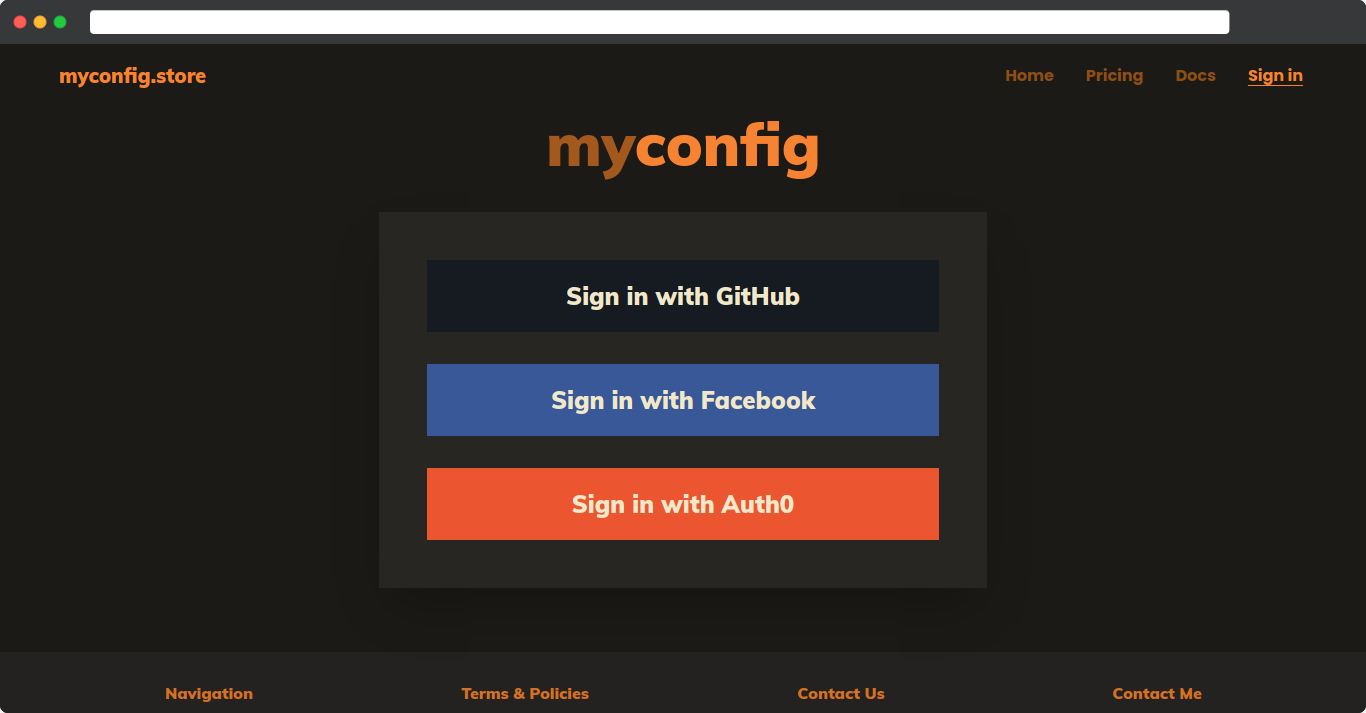
You will be redirected to the sign in page, sign in with your preferred provider to create a new account.
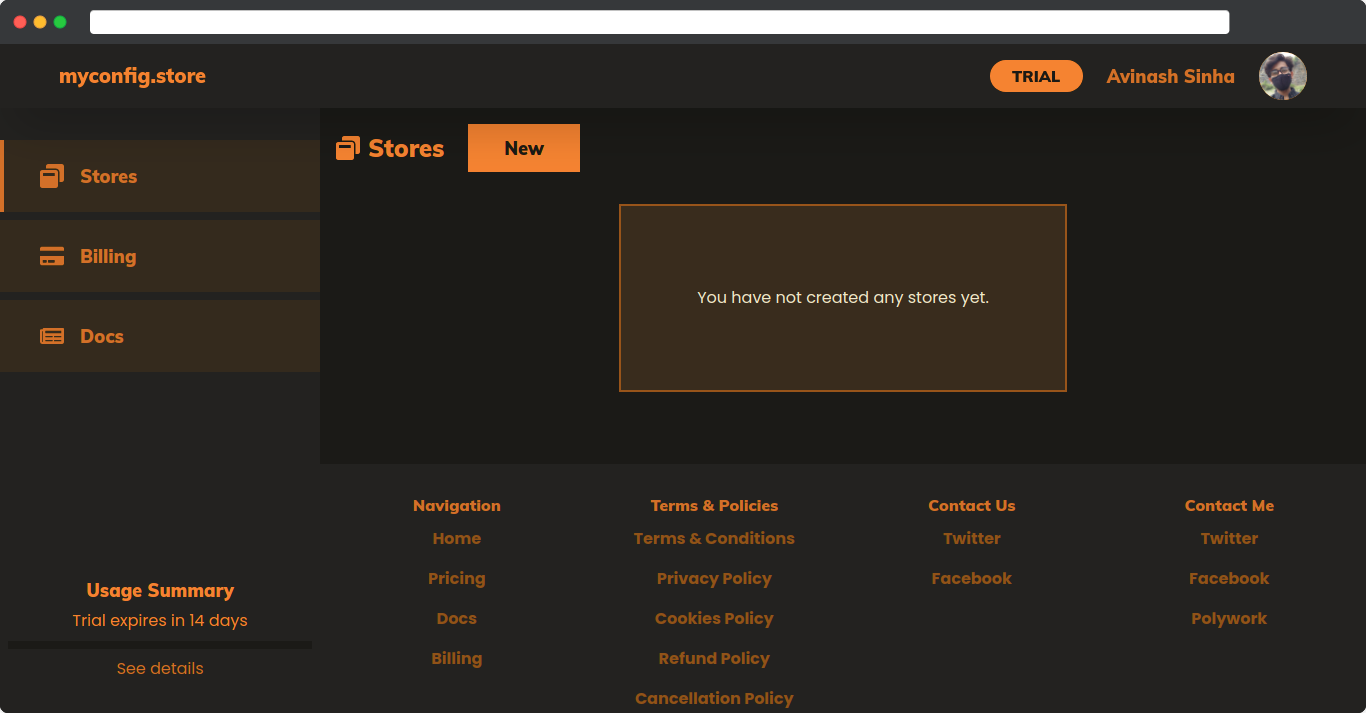
After successfully creating your new account, you will be redirected to you dashboard.
2. Create a new store#
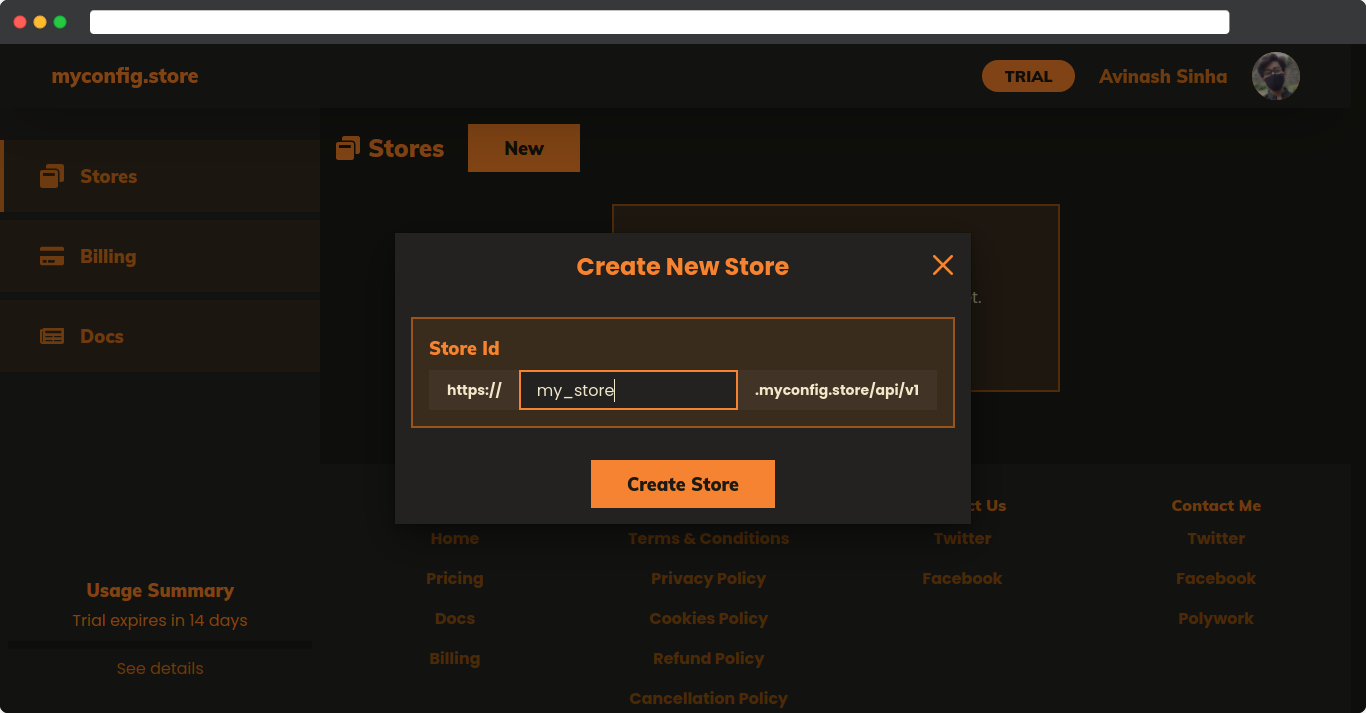
Click on the New button in the stores page, it will open a new modal to create new store.
Enter a unique store name (the urls for all the products in this store will include this store name) and click on Create Store button.
After successfully creating a new store, you will be redirected to the newly created store's page.
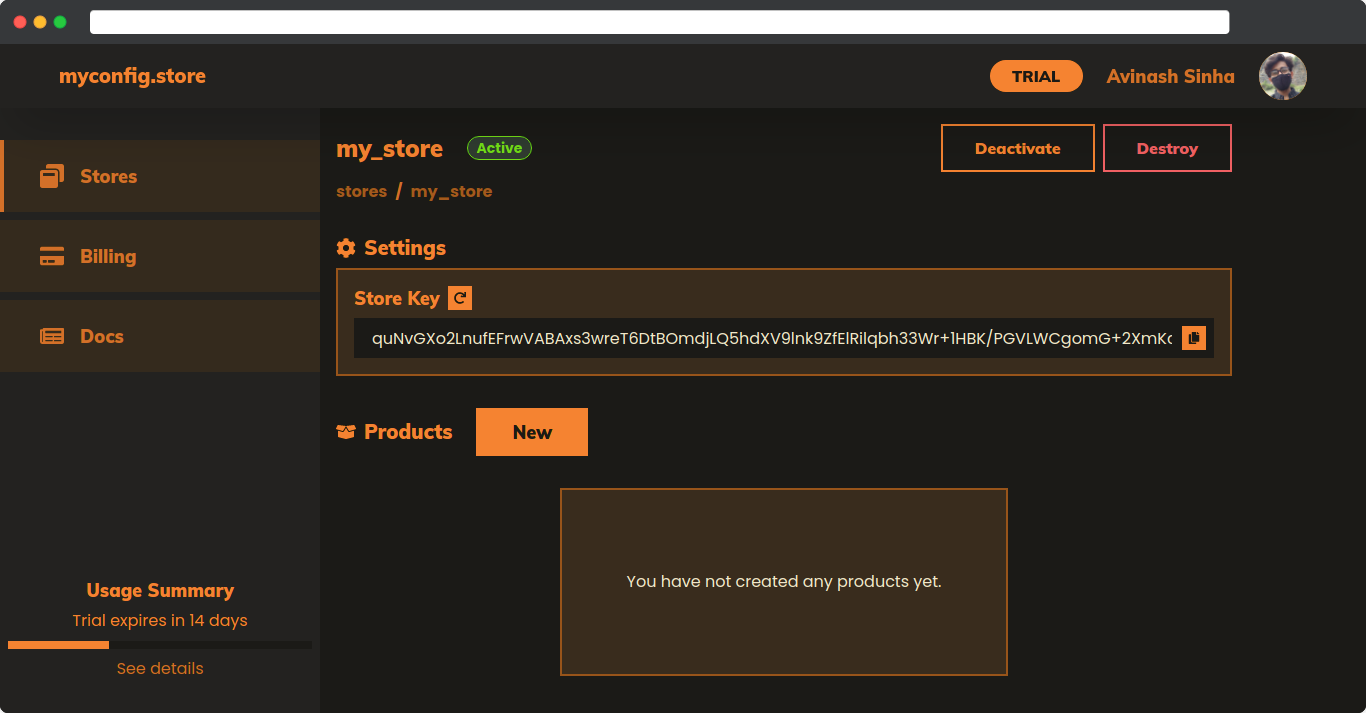
Important: Copy the
Store Keyand store it somewhere securely, you will need this key to access this store unless you change the product's settings and make it public.
3. Create a new product#
Click on the New button next to the Products list in the store page, it will open a new modal to create new product inside this store.
Enter a unique product name (the url for this product will include this product name) and click on Create Product button.
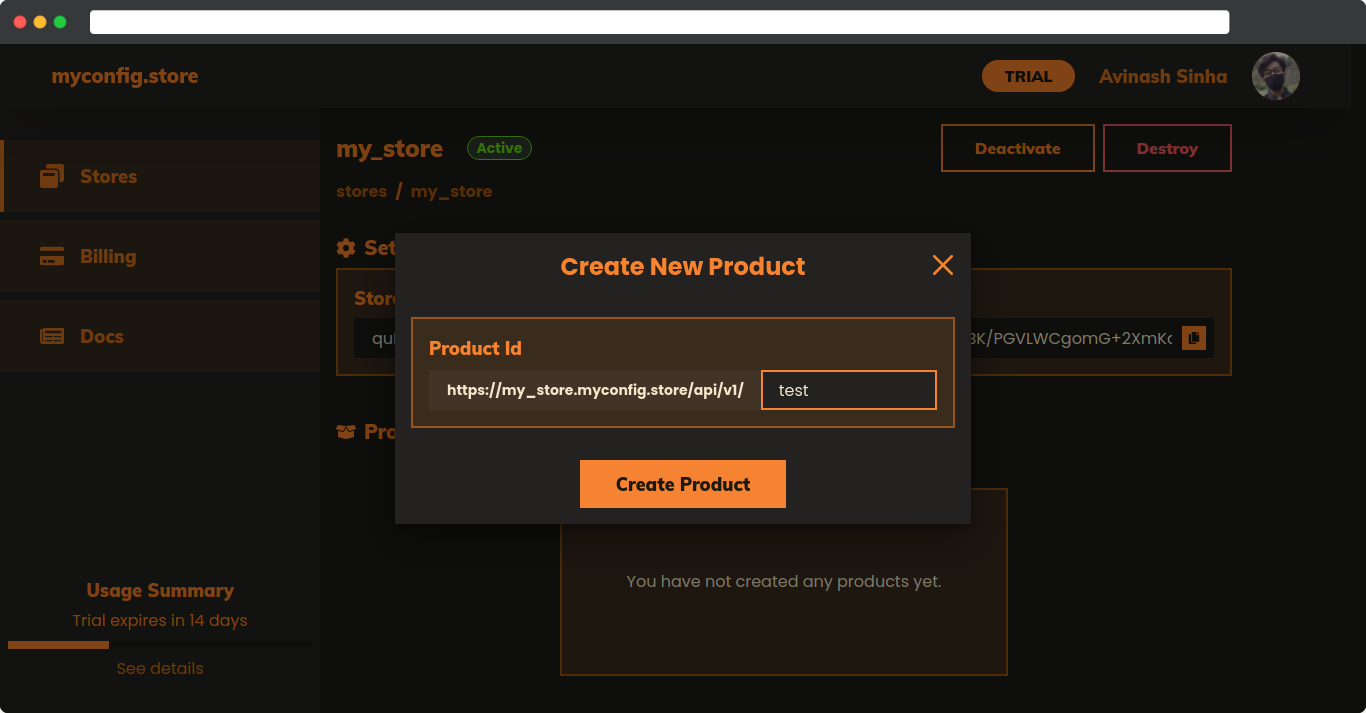
After successfully creating a new product, you will be redirected to the newly created product's page with no fields.
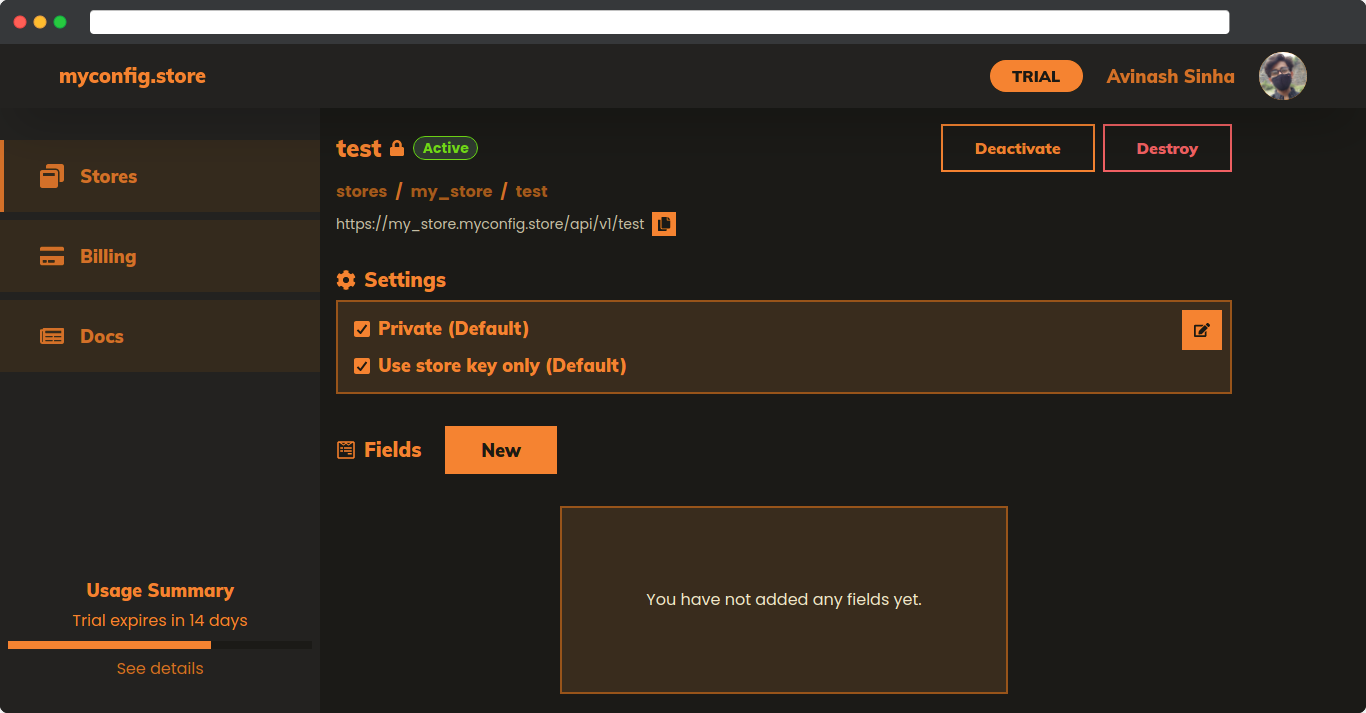
4. Add Fields#
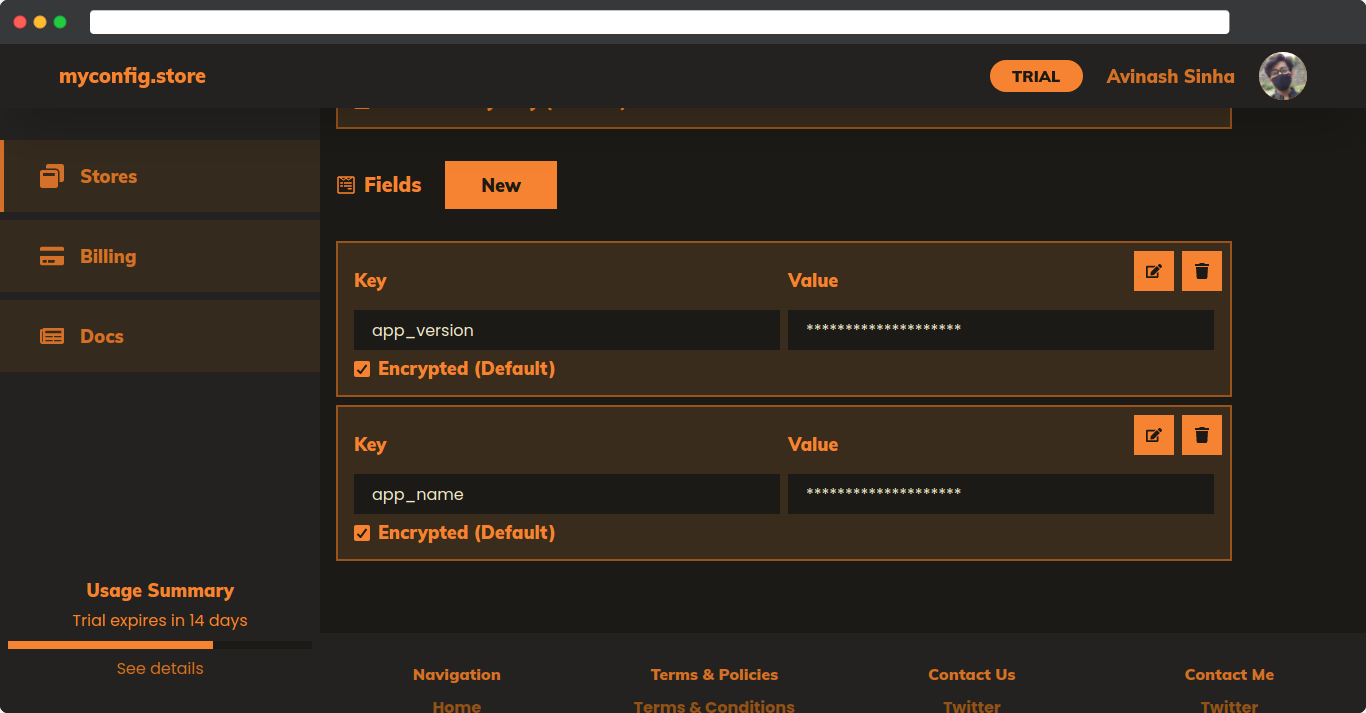
Click on the New button next to the Fields list in the product page, it will open a new modal to add a new field in this product.
Enter a valid key and value pair for the field and click on Create Field button.
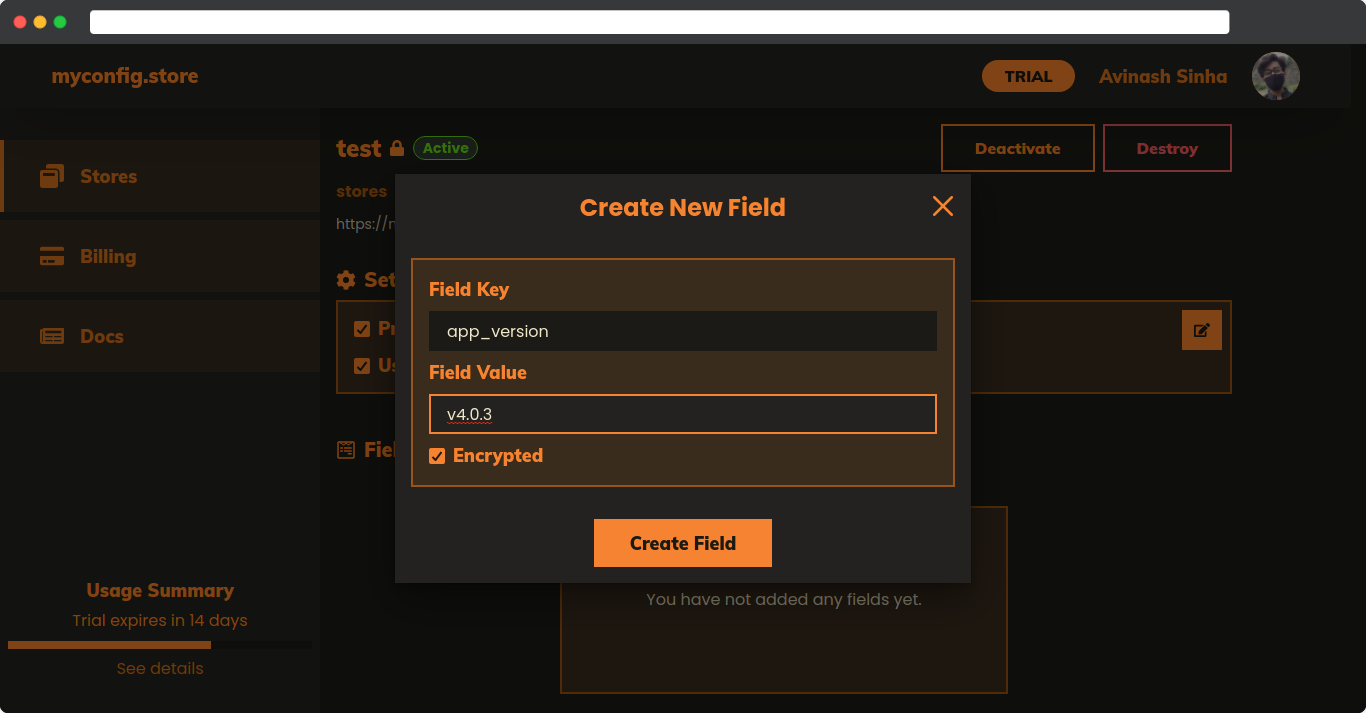
Important: Making a field
Encrypted, which is the default option, will encrypt the field value and you can not see the value in the app's interface after it's created. Though you will get the raw value when you access this product through the API url.You can see all your fields and their settings in the Fields list.
5. Access your config store through the API#
We can now access the config store easily through the product url which you can copy from the product's page.
The general format of the url is -
// https://{your_store_name}.myconfig.store/api/v1/{your_product_name}You can use axios or any other http client library specific to your preferred language, we will use fetch in Javascript for this tutorial.
const fetchProduct = async (storeKey, productUrl) => {  const response = await fetch(productUrl, {    headers: {      Authorization: `Bearer ${storeKey}`,    },  });
  return response.json();};
const storeKey = "6vxo4iAtK...";const productUrl = "https://my_store.myconfig.store/api/v1/test";
const data = await fetchProduct(storeKey, productUrl);You will get a data object like this.
{ "productId": "test", "storeId": "my_store", "url": "https://my_store.myconfig.store/api/v1/test", "createdAt": "Tue, 22 Jun 2021 08:43:55 GMT", "updatedAt": "Tue, 22 Jun 2021 08:46:43 GMT", "data": { "app_version": "v4.0.3", "app_name": "My Config Store" }}